Storing accessories so you can find the blade you need

The frustration of a DIY project grinding to a halt because you can’t find the right accessory is all too common. Whether it’s that specific oscillating multitool blade for a tricky cut or the precise impact-rated driver bit for a stubborn screw, misplacing these small but crucial items wastes valuable time and saps enthusiasm. A haphazard pile of blades and bits often leads to repeated purchases of items you already own.
Effective storage isn’t just about neatness; it’s about efficiency, extending the life of your tools, and ensuring safety. When every blade, bit, and adapter has its designated place, you can quickly locate what you need, protect delicate cutting edges, and maintain a clear inventory of your supplies. Let’s explore practical ways to organise your accessories so you can focus on the task at hand.
The Oscillating Multitool Blade Dilemma
Oscillating multitool blades present a unique storage challenge. With various types designed for wood, metal, plasterboard, grout, or sanding, and different fitting systems, they can easily become a jumbled mess. A pile in a drawer or a box often means rummaging through identical-looking blades, trying to identify the correct tooth count or material for the task.
Beyond the identification headache, poor storage also compromises the blades themselves. Sharp edges can chip against each other, and delicate teeth can bend or snap if not protected. This not only shortens their lifespan but can also affect cutting performance and safety. Proper containment is key to maintaining their integrity and readiness for work.
Categorising Your Blades and Bits
The first step to efficient storage is intelligent categorisation. Don’t just group everything; sort by type, material, size, or purpose. This proactive sorting makes selection much faster and reduces the decision fatigue of sifting through irrelevant items. Think of it as creating a library for your tools.
Categorising Oscillating Blades
For oscillating blades, separate them by their primary material use: wood, metal, universal, or specialised (e.g., grout removal, scraping). Within these categories, you might further sort by blade width or whether they are plunge-cut or segment blades. Keeping different fitting types (e.g., Starlock, OIS) distinct is also vital for quick selection.
Sorting Driver Bits and Adapters
Driver bits benefit from similar categorisation. Group Phillips, Pozi, Torx, Hex, and flathead bits together, perhaps further subdividing by size. Socket adapters can be organised by drive size (e.g., 1/4″, 3/8″, 1/2″) and then by type (e.g., impact, swivel). This systematic approach streamlines your workflow significantly.
Purpose-Built Storage Cases
Many accessories come in their own plastic cases, and these shouldn’t be discarded lightly. These cases are specifically designed to protect the contents and keep sets together. Utilise them! They prevent items from knocking against each other, which is especially important for delicate cutting edges and precision bits.
For items that didn’t come with their own case, or for consolidating existing sets, consider aftermarket purpose-built cases. These often feature secure latches, robust construction, and clear lids, allowing for quick visual identification of contents. Look for cases that are stackable or linkable for a truly modular storage system.
The Versatility of Small Parts Organisers
Beyond dedicated cases, small parts organisers are invaluable for miscellaneous blades, driver bits, and socket adapters. These typically feature clear plastic construction with multiple compartments, often with adjustable dividers. Their transparency allows you to see the contents without opening, saving time and effort.
The adjustable dividers are key, letting you customise compartment sizes to perfectly fit various items. This prevents smaller bits from migrating between sections and larger blades from rattling excessively. These organisers come in various sizes, from small benchtop units to larger, portable cases that can be stacked or carried easily.
Harnessing Magnetic Solutions
Magnetic solutions offer both convenience and security for small metal parts. Magnetic parts mats are indispensable on any workbench or during a project. They securely hold screws, nuts, bolts, and small driver bits, preventing them from rolling away or getting lost amidst sawdust and debris, even on an uneven surface.
For quick access to frequently used driver bits or small socket adapters, magnetic tool bars can be mounted on a wall or workbench. This keeps them visible and within easy reach, ready for immediate use. Magnetic trays, often found in tool chests, also provide a secure spot for keeping items from shifting around when drawers are opened and closed.
Wall-Mount Tool Organisers for Accessibility
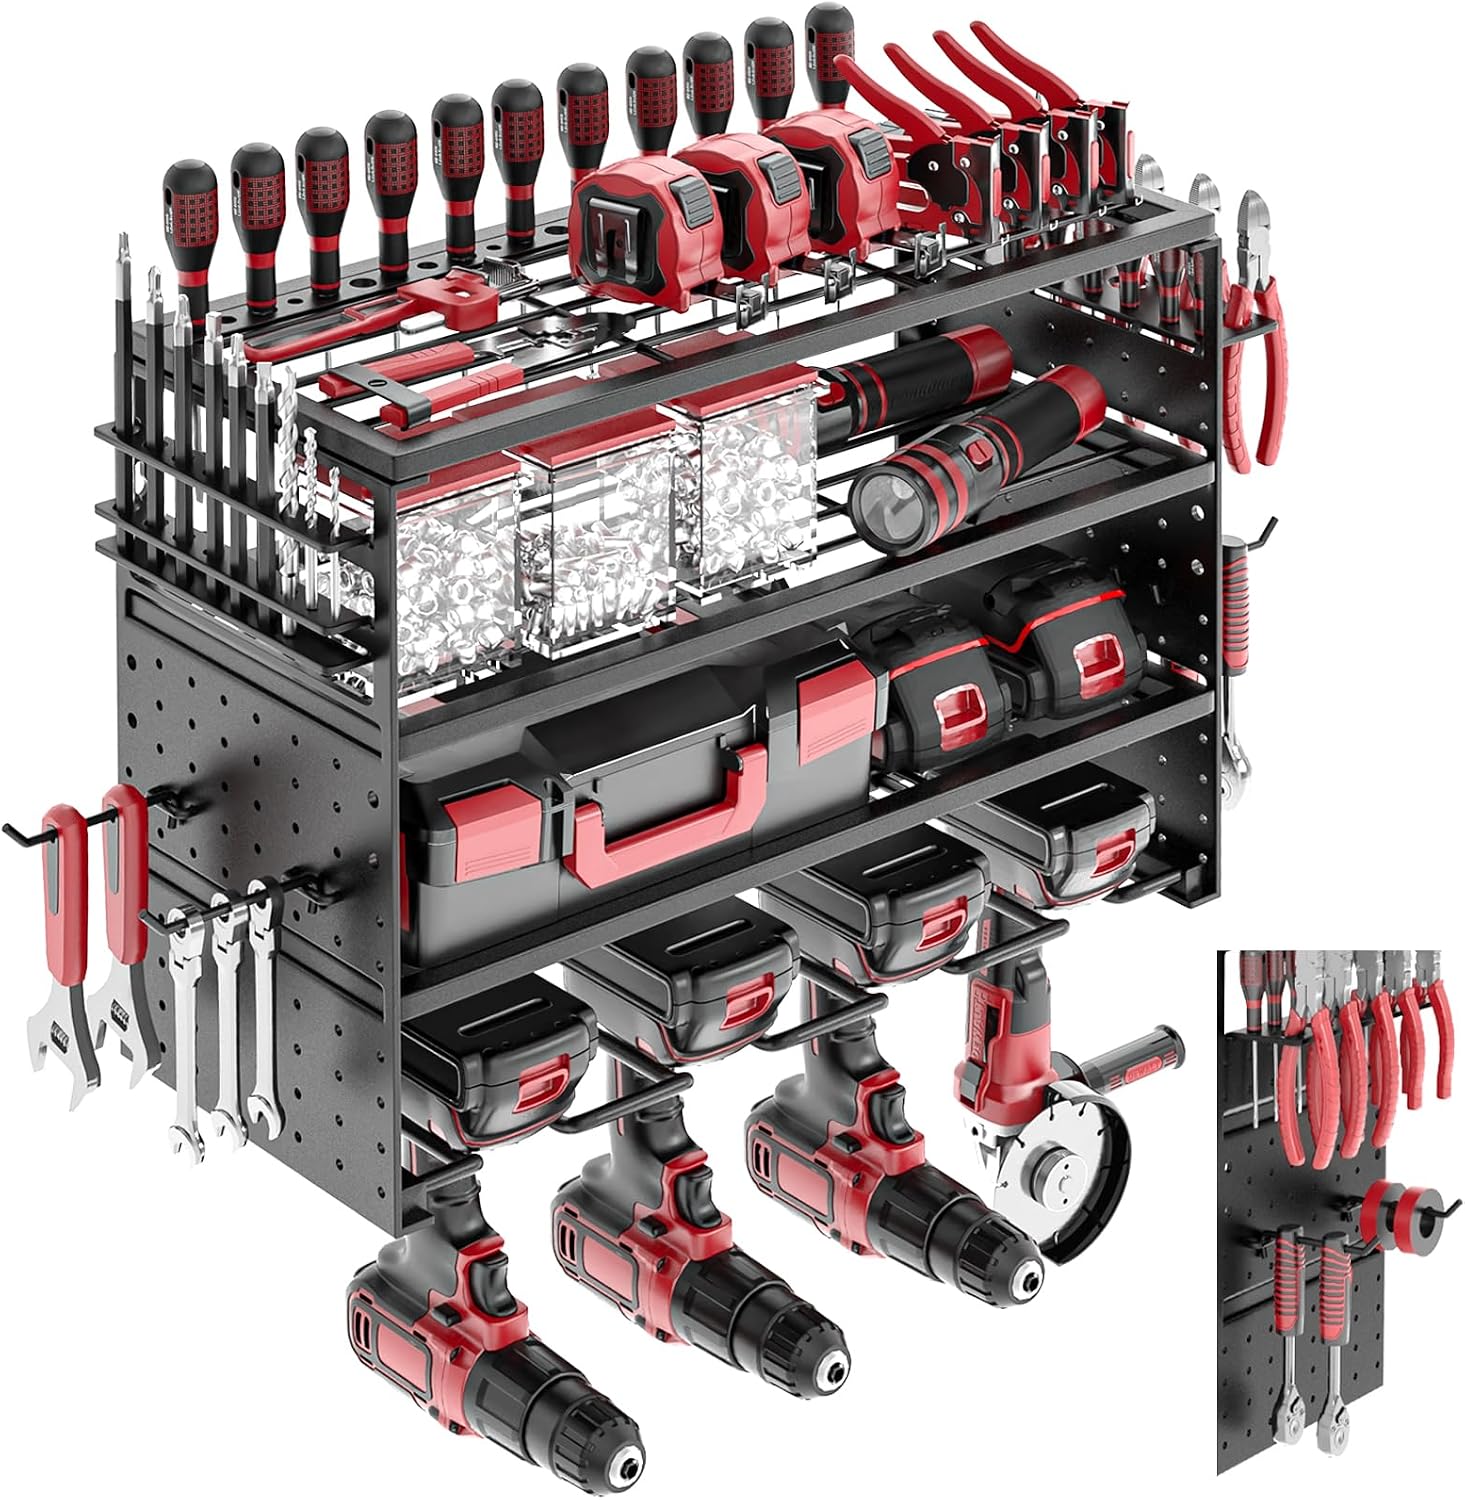
When bench space is at a premium, looking up is the answer. Wall-mount tool organisers like pegboards or slatwall systems offer an excellent way to keep accessories visible, accessible, and off your work surfaces. This vertical storage maximises your available area and helps maintain an uncluttered workspace.
Pegboard and Slatwall Systems
Pegboard systems are a classic for a reason. With a vast array of hooks, bins, and holders available, you can customise your wall storage to suit any accessory. Slatwall offers a similar versatility with different mounting options and accessories, providing robust support for heavier items or more structured displays.
Dedicated Holders and Bins
For driver bits and socket adapters, specific holders designed for pegboard or slatwall are ideal. These keep individual bits upright and easily identifiable. Small, open-front bins can hold collections of oscillating blades, grouped by type, allowing for quick grabbing. This systematic approach ensures everything has a home and is visible.
Labelling and Visual Cues
Even the most organised system can fail without clear identification. Labelling is paramount. Use a label maker or permanent marker to clearly mark storage containers, drawers, and compartments with their contents. Don’t just write “Blades”; specify “Wood Blades” or “Metal Plunge Blades 35mm”.
Beyond text labels, visual cues can further enhance efficiency. For example, colour-coding storage bins or using clear lids allows for instant identification without needing to read labels or open containers. For larger collections, creating a “shadow board” where the outline of each tool is drawn can instantly reveal what’s missing.
Regular Audits and Maintenance
An organised system isn’t a one-time setup; it requires ongoing maintenance. Periodically audit your accessory storage. Remove broken oscillating blades, dulled driver bits, or any items that are no longer fit for purpose. This prevents clutter and ensures that everything you store is genuinely useful.
Get into the habit of putting accessories back in their designated spots immediately after use. This simple discipline prevents stray items from accumulating and ensures your system remains effective. A quick tidy-up after each project helps maintain order and makes the next task much smoother.
The short version
- Categorise precisely: Sort blades by material and type, and bits by drive and size.
- Protect with purpose-built storage: Utilise original cases, dedicated accessory boxes, and small parts organisers.
- Optimise accessibility: Use magnetic mats and wall-mount systems for frequently used items and to free up workspace.
Where to go next
Everything discussed here sits under Tool Organizers in our shop. Delivery and returns are set out on the Shipping Policy and Refund and Returns Policy pages, and you may also want Oscillating blade types: bi-metal, high-carbon and carbide compared. If something here does not answer your question, ask us directly — we would rather talk it through than have you buy the wrong thing.